
If you are here, chances are you want to add the doors to your Revit project without spending hours modeling every door leaf and frame from scratch.
Did you know you can place doors in Revit in just a few clicks? With ready-to-use parametric families, the dimensions, materials, and plan representation are already set up for you.
These doors are usually available through BIM libraries that are easy to find online. However, it is important to choose carefully, since not every family available online is properly parameterized or ready to use.
To help you find reliable Revit door families, this article explains how doors work in the software, how to place and adjust them accurately, and where to download ready-to-use models .
Let ‘s get started?
What are doors in Revit?
Before you start placing doors, it helps to understand one feature that shapes the entire workflow.
In Revit, doors are wall-hosted components. This means they must be placed in a wall to exist in the model.
When you place a door, Revit automatically cuts the opening in the wall and inserts the door, so there is no need to create the opening manually.
A wall-hosted door cannot exist independently in the model. If you delete its host wall, the door is deleted as well. If you move the wall, the door and its opening move with it.
It is also important to understand that Revit doors are parametric families, not static CAD blocks.
Each family contains editable parameters for width, height, materials, and finishes, allowing you to make changes without remodeling the geometry.
For example, changing a door from 32 to 36 inches requires only a parameter change. The plans, sections, and door schedules then update automatically.
For a more technical overview of how doors work in Revit, see Autodesk’s door documentation.
How do you place doors in Revit with one click?
This is the standard workflow you will use regularly . Open a floor plan, section, elevation, or 3D view, then follow the steps below to place a door.
- Activate the Architecture tab, select Door, or use the DR keyboard shortcut.
- Choose the door type you want from the Type Selector at the top of the Properties palette.
- Move the cursor over a wall to preview the door before placing it.
- Press the spacebar to change the swing direction or hinge side. .
- Check the temporary dimensions, which show the door’s distance from nearby walls, then click to place it.
You can also enable Tag on Placement to tag doors as you insert them and begin numbering them immediately.
At no point did you have to model the door leaf , build the frame, or cut the wall opening manually .
Revit handles that work automatically. This is the main advantage of using well-built door families: you can spend more time making design decisions and less time on repetitive modeling.
How do you place doors in Revit with the Blocks Plugin?
The workflow above uses Revit’s standard content library, but there is a faster and more convenient way to add doors to a project.
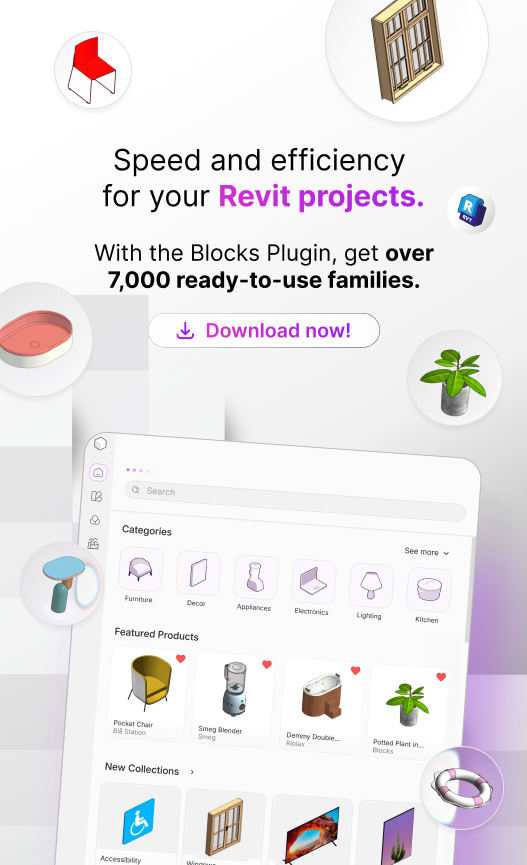
The Blocks Plugin gives you access to a BIM library with a wide selection of doors that you can add to your project in just a few clicks. Here is how it works:
- Install the Blocks Plugin.
- Go to the Add-Ins tab in Revit and click “Blocks”.
- Create an account or sign in.
- Choose the door that best fits your project.
- Place it in the model.
That’s all it takes. Blocks offers more than 9,000 parametric families that you can add directly to your project without modeling from scratch.
Our dedicated BIM content team carefully develops and parameterizes every family.
To learn more about how our plugin works, read: Blocks Plugin: get access to countless Revit families in a few clicks
How do you load ready-to-use door families?
Revit includes several door families in its standard content library, but the selection is limited and may not always suit your project’s design concept.
To add more options , select Load Family, browse to the Doors folder, and open the family file you want. The newly loaded type will then appear in the Type Selector, ready to place.
You can also download door families online, but their source matters.
Standalone files from unverified websites may be overly complex, poorly parameterized, or missing configured materials. These issues can affect rendering and reduce overall model performance.
For this reason, many professionals rely on curated libraries that offer tested, project -ready door families .
That is exactly what Blocks is designed to provide, as you will see later in the article.
Types of Revit doors for different spaces
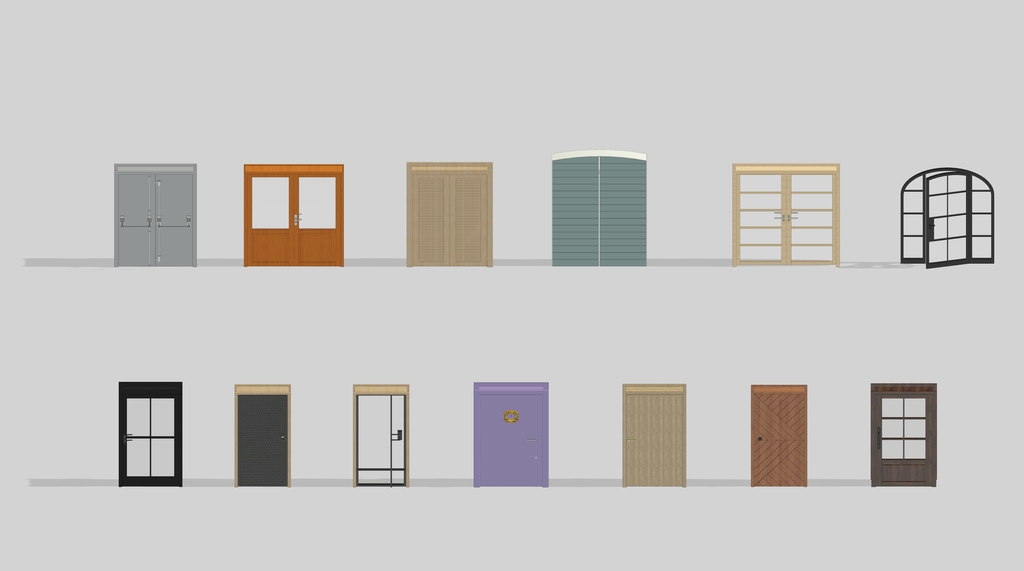
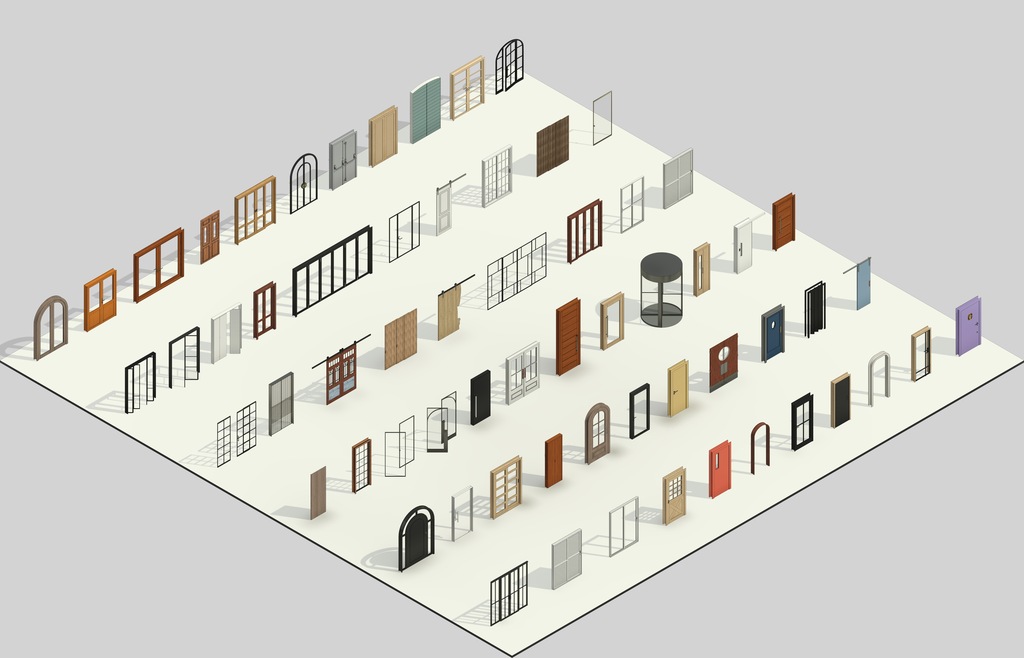
Different openings call for different door types, and Revit can accommodate virtually any configuration used in building projects .
- Single-and double-leaf swinging doors are among the most common options in residential and commercial projects.
- Sliding doors work well in tight spaces because they do not require clearance for a swinging door leaf .
- Pivot doors have a strong visual presence and are often used in lobbies and main entrances.
- Other options include bifold doors, accordion doors, and open doorways used to connect adjoining spaces.
The differences between these door types go beyond appearance. Each one also has its own parametric behavior and graphic representation.
For example, a sliding door does not display the swing arc shown for a hinged door in a plan.
When door families are modeled by specialists, this behavior and graphic representation are already configured correctly, reducing the need for manual adjustments when you finalize the drawing set.
How do you edit types and understand door parameters?
Every door family includes parameters that can be adjusted without editing the underlying geometry.
To change a dimension, select the door and click Edit Type in the Properties palette. The dialog contains settings for width, height, materials, and other parameters.
If the size you need is not available, , click Duplicate, give the new type a clear name, such as 3′-0″ × 7′-0″, and enter the required values.
Many door families also include the handle as a nested family, allowing you to change the hardware without remodeling the entire door.
What is the difference between type and instance parameters?
Understanding this distinction is important because most projects require you to work with both parameter types.
A type parameter affects every door of that type in the project, while an instance parameter affects only the selected door.
A material is often assigned as a type parameter, while a finish that varies on a single door can be controlled with an instance parameter.
Dimensions and standards your Revit doors should meet
A visually appealing model is not enough if the door does not meet the needs of the people who will use it. In the United States , the 2010 ADA Standards for Accessible Design require doors along accessible routes to provide a clear opening at least 32 inches wide. Door openings must also provide at least 80 inches of clear height.
Because the door leaf and frame reduce the usable opening, a 36-inch nominal door is commonly used to achieve the required 32-inch clear width. However, the actual clear opening must be verified with the door open 90 degrees, measured between the face of the door and the frame stop.
Accessible door hardware must be operable with one hand and without tight grasping, pinching, or twisting of the wrist. Lever-operated hardware is an accepted solution, and its operable parts must be mounted between 34 and 48 inches above the finished floor. These requirements are detailed in the U.S. Access Board’s guidance on accessible doors and gates.
In the United States, the Window & Door Manufacturers Association publishes ANSI/WDMA standards for architectural wood doors, including standards for flush doors and stile-and-rail doors. WDMA also provides industry definitions for door components and construction.
When these requirements are built into your Revit door families from the start, the model becomes a reliable source of project information rather than simply a graphic representation.
The most downloaded Revit doors from the Blocks plugin
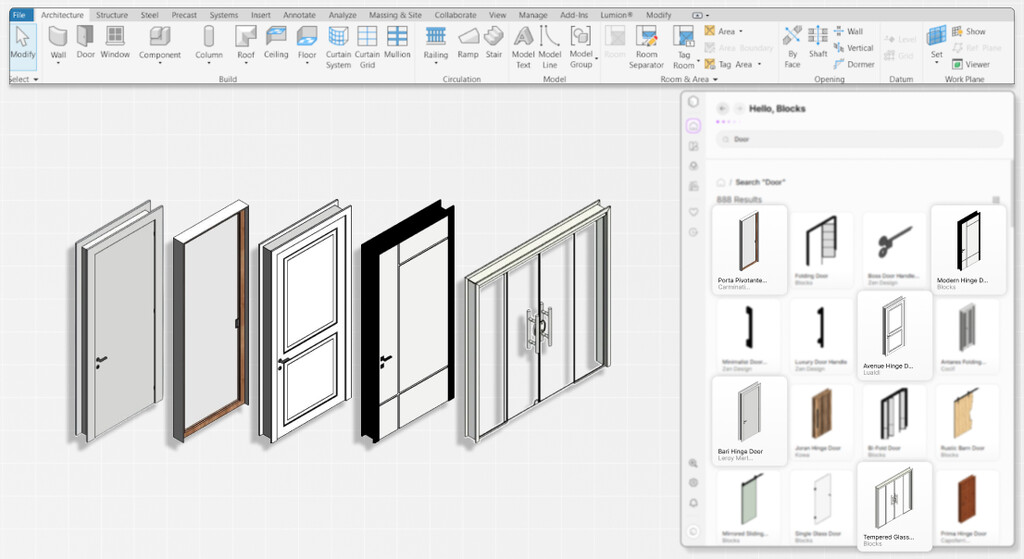
If you want to download a door and start using it right away, this section is for you.
We have gathered the Revit door families most frequently downloaded by the Blocks community.
Each one is parametric and includes materials already configured for rendering. Simply choose a model, review it, and add it directly to your project.
- Lady Pivot Door: ideal for entrances and lobbies that call for a strong focal point .
- Modern Hinge Door: a clean, streamlined option for contemporary projects.
- Avenue Hinge Door: a versatile option for residential and commercial projects .
- Bari Hinge Door: an elegant choice for interior applications .
- Tempered Glass Sliding Door: a great choice for dividing spaces without sacrificing natural light.
These are only the most downloaded options. Explore the full door collection to find the model that best fits your space.
Stop modeling Revit doors and start designing with Blocks®!
Every hour spent modeling a door from scratch is time you could be investing in the project itself.
The Blocks Plugin solves this directly within Revit, giving you access to more than 9,000 Premium parametric families, 25 new releases every week, and products from more than 1,000 real manufacturers, all ready to place with one click.
Every family is modeled and parameterized with millimeter-level precision by a team of BIM experts. This gives you one-click access to high-quality content with reliable parameters.
To use a family, simply open the plugin and choose the right door. It is placed in the model with render-ready textures and Smart Suggestions for related items.
The same workflow applies to furniture, lighting, and any other content your project requires.
Want to try it for free? Download the Blocks Plugin and place your first Revit doors today.
When you are ready to access the full library, explore the available plans.

Conclusion
Working with doors in Revit no longer has to involve repetitive modeling. With the right tools , ready-to-use families can significantly reduce modeling time.
The key is to start with well-built families that already account for the required dimensions, standards, and graphic conventions, then let Revit handle the repetitive work.
Now it is your turn. Choose doors that support your design concept, test the workflow in Revit, and see how much time it saves you throughout the week.
To keep building your BIM and Revit expertise , follow the Blocks blog for the latest guides, collections, and tips.
Frequently Asked Questions about Revit doors
We have gathered the most common questions about Revit doors, with straightforward answers to help you place, adjust, and download families without wasting time.
What is the most efficient way to place doors in Revit?
The most efficient approach is to start with ready-to-use parametric families instead of modeling every door leaf and frame from scratch. Using Revit’s standard workflow, activate the Door tool on the Architecture tab or use the DR keyboard shortcut, choose a door type from the Type Selector, and click a wall to place it. Press the spacebar to change the swing direction or hinge side. To save even more time, the Blocks Plugin lets you place doors in Revit directly from the Add-Ins tab in just a few clicks, with materials already configured for rendering.
How do you place doors in walls in Revit?
In Revit, doors are wall-hosted components, which means they must be placed in a wall that serves as their host. When you move the cursor over a wall and click, Revit automatically cuts the opening and places the door without requiring any manual editing. If you move the wall, the opening moves with it. If you delete the wall, the door is deleted as well. Blocks door families follow this same logic and are placed directly in the wall, ready to use.
What are the best Revit door families available in the U.S.?
Blocks is one of the leading sources of Revit door families in the U.S., with a technically curated library of more than 9,000 parametric families. Models such as the Lady Pivot Door, Avenue Hinged Door, and Blindex Sliding Door are among the most downloaded by the Blocks community. Each family is fully parametric, includes render-ready materials, and is developed with dimensions that account for U.S. accessibility requirements. Explore the complete door collection to find the right model for your project.
Best practices for creating parametric door families in Revit
To create a door family from scratch, start with a Revit door family template (.rft), which already includes the behavior required for a wall-hosted component. Work with reference planes and dimensions, associate parameters with the width, height, and materials, and create the door handle as a separate nested family so you can change the hardware without remodeling the entire door. Always flex the family by testing different parameter values, and account for the applicable accessibility requirements. Under the 2010 ADA Standards, accessible door openings must provide a clear width of at least 32 inches. If you would rather not build everything from scratch, Blocks provides doors modeled by a team of BIM specialists.
How do you customize Revit doors for residential projects?
To customize a door, select the element and click Edit Type in the Properties palette. There, you can adjust the width, height, materials, and finishes. If the size you need is not available, click Duplicate, give the new type a clear name, and enter the required values. Remember that a type parameter changes every door of that type, while an instance parameter affects only the selected door. Blocks door families include a range of finishes that make them easy to adapt to residential projects.
Where can you find free Revit door libraries?
Free Revit door families are available through public BIM libraries and manufacturer websites, but their quality can vary, and poorly parameterized models can slow down your project. The Blocks free plan is a reliable alternative, providing access to exclusive families every week with the same technical curation standards applied to Premium content. This allows you to get started with lightweight, parametric, render-ready doors at no cost.
Where can you find Revit-compatible door libraries?
Revit-compatible libraries use native .rfa family files rather than blocks imported from other software. The Blocks Plugin is one such option. As an Autodesk-authorized developer, Blocks integrates directly with Revit. This ensures that each door is added to the model with the correct parameters and appropriate graphic representation, without conversions that compromise the information contained in the family.
How do you create a barn-style sliding door with an exposed track in Revit?
Start with a sliding door family, which already has the correct plan-view behavior and does not display the swing arc used for hinged doors. To show the track, choose a family that includes an exposed track on the outer face of the wall. Alternatively, open the family in the Family Editor and add the track geometry as a solid with associated material and dimensional parameters. Blocks offers ready-to-use sliding doors, including the Blindex Sliding Door, that can serve as a starting point.
Which plugins make it easier to add doors in Revit?
The Blocks Plugin is the most direct option for anyone who wants to add doors without modeling them from scratch, as it provides access to thousands of ready-to-use families within Revit itself. Once installed, Blocks appears on the Add-Ins tab. After signing in to your account, you can choose and place any door in just a few clicks. The same workflow applies to furniture, lighting, and other project categories.
How do you adjust the height of an existing door in Revit?
To change a door’s height, select the element, click Edit Type, and adjust the Height parameter, which is typically a type parameter. To keep both sizes in the project, click Duplicate before making the change. This creates a new type without affecting doors that use the existing one. Sill Height, when applicable, is an instance parameter and affects only the selected door. Blocks families account for the minimum 80-inch clear opening height required by the 2010 ADA Standards.