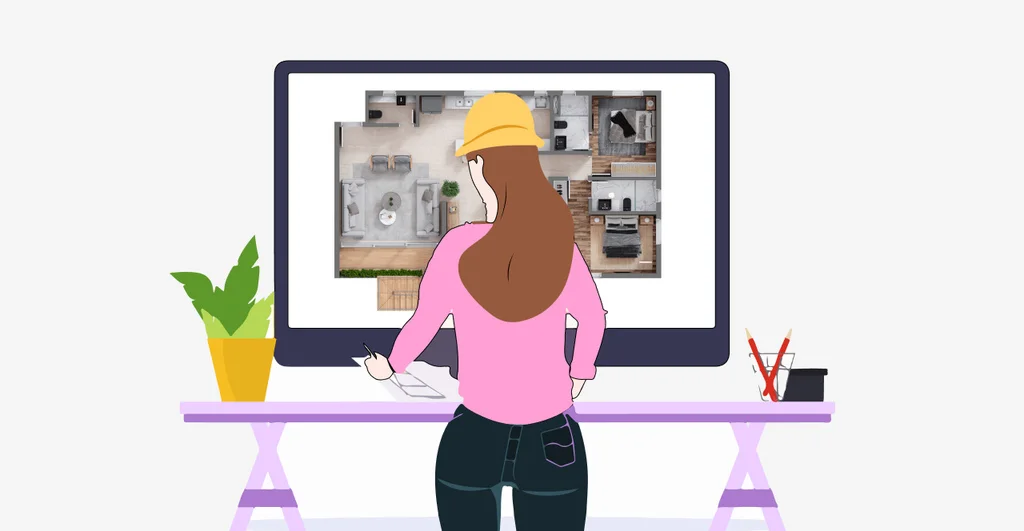
If you’re an architect or a design enthusiast, chances are you’ve already come across the term humanized floor plan.
With 3D technologies becoming increasingly accessible, this type of visual tool has gained widespread popularity across the architecture and interior design industries. It offers a comprehensive and intuitive view of the project, making communication between professionals and clients significantly smoother.
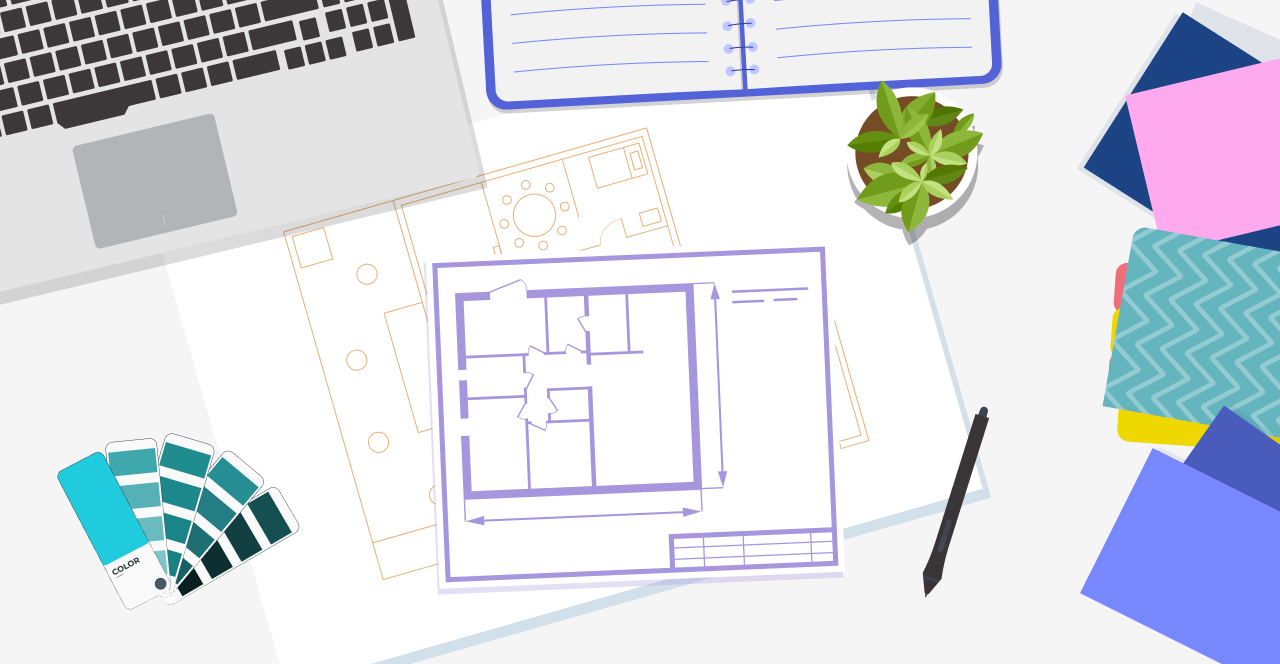
A humanized floor plan is a variation of the traditional technical drawing, but with a client-focused approach. It enhances clarity by including visual details and spatial context that help translate ideas into something tangible.
But there’s more to it than just that. In this article by Blocks®, we’ll take a deep dive into what humanized floor plans are, how they work, and how you can create one step-by-step using Revit and other architectural tools.
Let’s get started! 🙂
What is a Humanized Floor Plan?
A humanized floor plan is an architectural visualization technique based on the broader concept of humanization in architecture and urban planning.
In practice, this means adding layers of visual information, such as colors, furniture, textures, and landscaping, to enhance how the client understands the project.
With this, the client can have a clearer view of the final project, allowing them to request changes more assertively before the construction starts.
When a client hires an architect, they expect a clear and straightforward understanding of the proposed.
In other words, it is important to have transparency about the arrangement of the rooms, including how the furniture will be distributed throughout the space.
That’s where the humanized floor plan comes into play: rather than showing abstract lines on a blank page, it delivers a more human and relatable representation of the final result.
What is the Difference Between a Floor Plan and a Humanized Floor Plan?

The main difference lies in how the project information is presented.
For instance, a floor plan is a technical drawing that shows the arrangement of rooms, walls, doors, windows, and structural elements from a top-down view. It includes precise measurements, specifications, and all the technical details needed for construction, such as plumbing and electrical layouts. Typically rendered in black and white, it’s primarily a tool used by architects, engineers, and builders.
While it serves its professional purpose well, this version of the plan can be hard for clients to interpret. That’s why many professionals choose to go a step further.
A humanized floor plan builds on the standard floor plan by incorporating visual elements like colors, textures, furniture, and decorative items. It offers a more realistic view of what the final space will look like, helping clients better visualize the project outcome.
Put simply, a humanized floor plan is a version of a standard floor plan that incorporates colors, textures, furniture, and other decorative elements to provide a more realistic visual.
Its purpose is primarily visual, designed for clients and anyone who wants to see what the space will actually look like once it’s finished.
What is a Humanized Floor Plan For?

In general, the humanized floor plan is used to facilitate the visualization of an architectural or interior design project. That’s why it’s primarily intended for clients.
This tool provides a more “humanized” form of visualization, making it easier to understand the layout of the final project.
As a result, this type of floor plan plays a direct role in decision-making, helping clients evaluate the distribution of spaces, interior decor, furniture placement, spatial flow, and much more.
Since communication from architects, engineers, and interior designers can often be too technical for non-specialists, the humanized floor plan also helps bridge the gap between professionals and clients, making concepts easier to grasp.
In addition, it serves as a powerful marketing tool, especially for real estate launches, property listings, and client presentations.
What is the Importance of a Humanized Floor Plan?
The humanized floor plan is a valuable asset for both professionals and clients. . That is a fact!
For clients, however, this type of visualization can be a decisive factor when closing a deal.
Seeing colors, materials, and furniture helps them picture the final result more clearly, turning abstract concepts into something tangible and relatable.
For professionals, on the other hand, a humanized plan makes it easier to communicate design intent in a more accessible way.
It helps explain proposed solutions with greater clarity, ensuring the client understands and approves every part of the project.
It also helps reduce the risk of misunderstandings that often lead to rework, since the client can see exactly what’s being proposed.
This, in turn, speeds up the decision-making process and strengthens trust in the professional’s ideas and expertise.
How to Create a Humanized Floor Plan?
Now that the importance of a humanized floor plan is clear, you might be wondering how to actually create a new one.
If you’re an architect or interior designer, here’s a complete step-by-step guide to help you develop your own humanized floor plan. Shall we?
1. Choose the right software

The first step is selecting the appropriate software for the task. Tools like Revit®, AutoCAD®, SketchUp®, and others allow you to create technical floor plans and then enhance them with visual elements.
These platforms are essential for architects and designers who want to bring projects to life through more realistic representations.
2. Create the technical floor plan

Once you’ve chosen your software, it’s time to create or import the technical floor plan directly into the program.
Depending on the project, this plan should include the layout of rooms, walls, doors, and windows. If necessary, you can draft the entire plan from scratch to match the specific requirements of your design.
3. Add decorative elements

With the technical base in place, it’s time to add visual features to make the plan more engaging and realistic.
Use colors, textures, flooring, wall finishes, and hatching tools to represent different materials and zones. These elements help define the ambiance of each space and convey design intent more effectively.
4. Apply lighting and shading

To give the project a more realistic appearance, switch the visual style to realistic mode and apply lighting and shadows directly within the software.
This feature allows you to visualize how both natural and artificial light will affect the space, highlighting key design elements and materials.
In Revit, for instance, you can seamlessly toggle between technical and humanized views without needing to switch to another program.
This flexibility streamlines the workflow, making the process more efficient for the architect and more visually engaging for the client.
5. Edit details and finalize

At this point, you already have everything you need to complete your humanized floor plan, but it’s still important to pay close attention to key details such as windows, doors, and decorative elements.
If everything looks good, it’s time to render the plan to enhance its visual quality. For this, you can use rendering software like Lumion or Enscape.
Want to learn more about detailing and final adjustments? The YouTube channel Jefferson Sandrin | Revit has a full video on the topic. Check it out:
6. Export and present

Once your plan is fully rendered and finalized, it’s ready to be presented to the client. To do this, you can export the file as an image or PDF.
Make sure to save your humanized floor plan so that you can make edits as needed. After all, that’s the purpose of a technical plan: to be edited before construction begins.
Can You Make a Humanized Floor Plan in Revit?

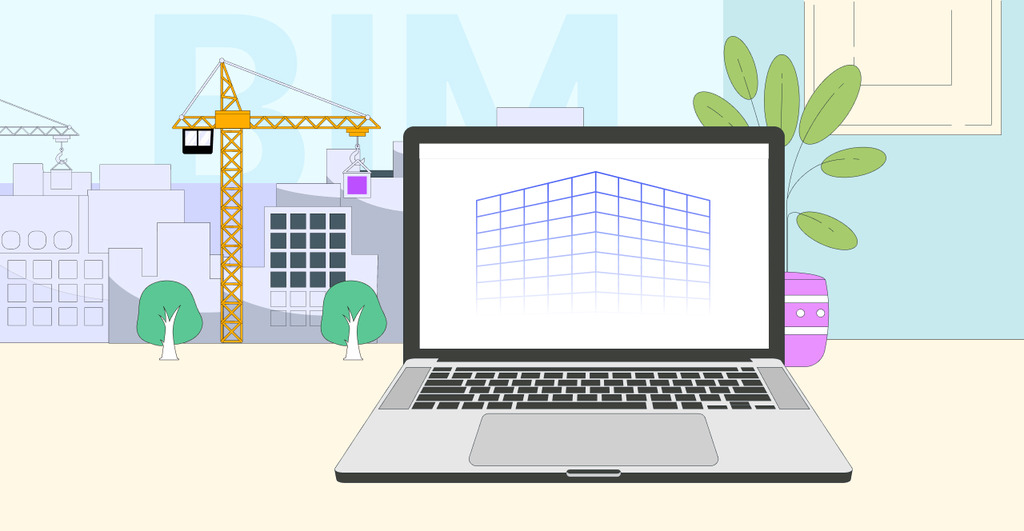
Absolutely. Revit® is a comprehensive BIM software that includes all the essential tools for creating both technical and humanized floor plans in one place.
Each professional can customize their workflow based on project needs, but here’s a general overview of how the process works in Revit:
- Create the technical floor plan: Open Revit® and start a new project or import an existing plan. If needed, draw the construction’s floor plan, including walls, doors, windows, and other structural elements.
- Apply materials and textures: Go to the “Manage” tab and click on “Materials.” Here, you can add different types of textures to the project surfaces, such as floors, walls, and ceilings.
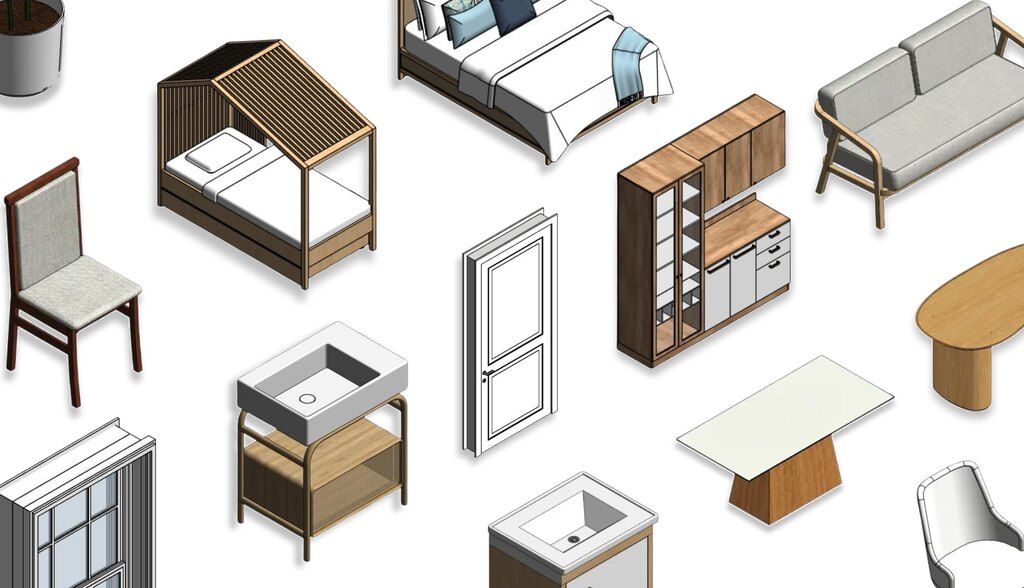
- Add furniture: In the “Architecture” tab, select “Component” to place furniture and decorative objects within the space. You can download Revit families online or use ready-made assets from the Blocks Plugin BIM library.
- Configure the graphic view: Access the “Floor Plan View” and adjust the graphic settings so the view looks more humanized. Use the “Visual Styles” tool, such as “Shading,” to apply shadows and lighting effects.
- Add lighting and shadow effects: Go to the “View” tab and click on “Shadow Graphics” to adjust the shadows in the project. Also, activate natural light by setting the sun’s position to simulate how sunlight will enter the rooms. If needed, add artificial lights, like lamps, to improve the lighting in the spaces.
- Render the project: To generate a high-quality visualization, use Revit’s built-in rendering tool.,Click on “View,” then on “Render.”
- Export the final plan: After rendering, export the image of the humanized floor plan. Go to “File,” then “Export,” and select the desired format to save the plan.
By following these steps, you easily can create your own humanized floor plan in Revit. Keep in mind that, depending on your design goals, the process can be customized to fit each project.
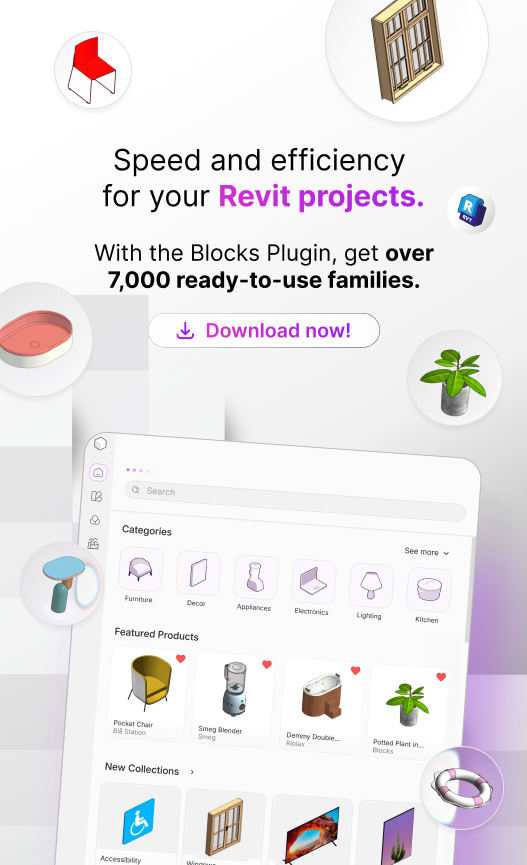
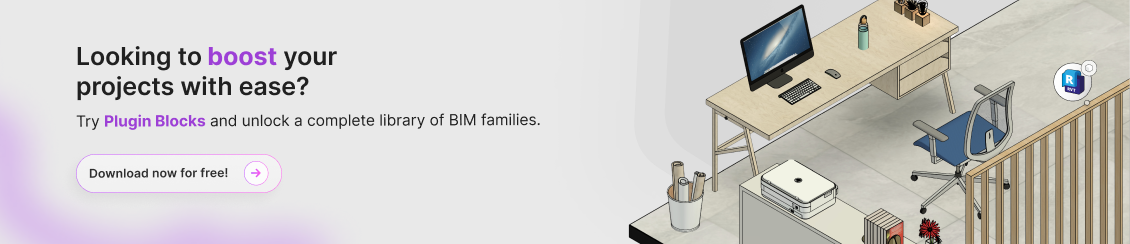
Blocks Plugin: Get Access to Quality Families!
Looking to simplify your architectural workflow? You’re in the right place.
The Blocks Plugin is an essential tool for architects, offering access to over 6,000 Revit families with pre-applied textures, ready to use directly in your humanized floor plans.
No more wasting hours searching for furniture online. With the Blocks Plugin, you’ll find fully textured furniture and decorative elements that bring your plans to life in a practical and efficient way.
New collections are added weekly, created by a specialized team of BIM modeling experts, so your projects always stay up to date.
Conclusion
Ready to start presenting your projects with humanized floor plans? This approach is without a doubt a great way to attract new clients.
Although it may require more work than a traditional technical drawing, the humanized floor plan has a much higher conversion potential.
While technical drawings are easy for professionals to interpret, they can be a major barrier for clients trying to understand the project.
So, if you want to provide better visualization and clarity for your clients—and increase the chances of project approval—humanized floor plans are the way to go.
Enjoyed this content? For more tips and insights, be sure to follow the Blocks Blog!