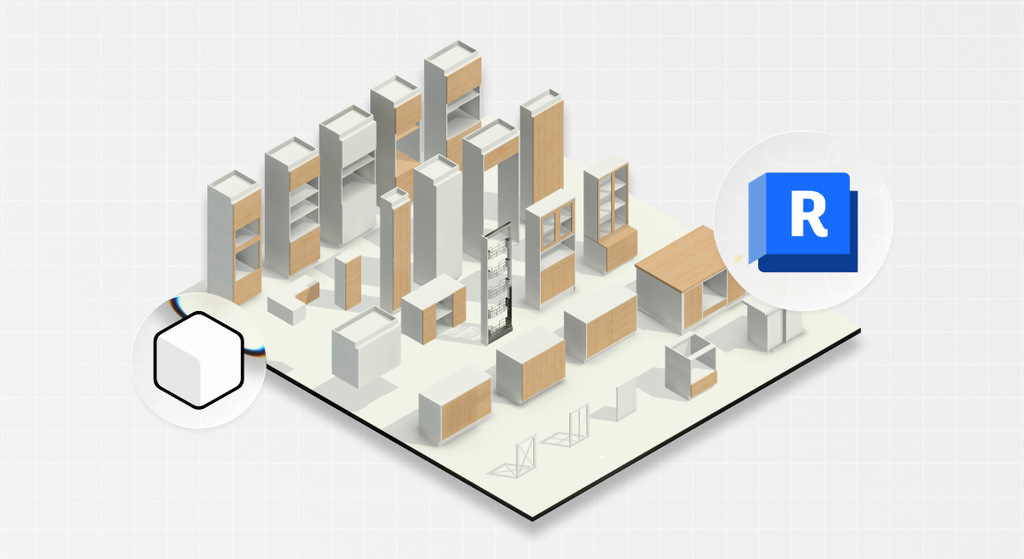
There are two ways to create a modular kitchen in Revit: model it from scratch or use ready-made families downloaded online. Both have their pros and cons.
A downloaded family rarely matches the dimensions of your project. Its panel thickness may not correspond to what your cabinet shop uses, and the door may swing in the wrong direction.
On the other hand, modeling your own modular kitchen is extremely time-consuming. You spend time modeling cabinetry instead of focusing your energy on the client’s project.
In the end, you may resort to downloading non-parametric families from the internet just to represent the cabinetry somehow.
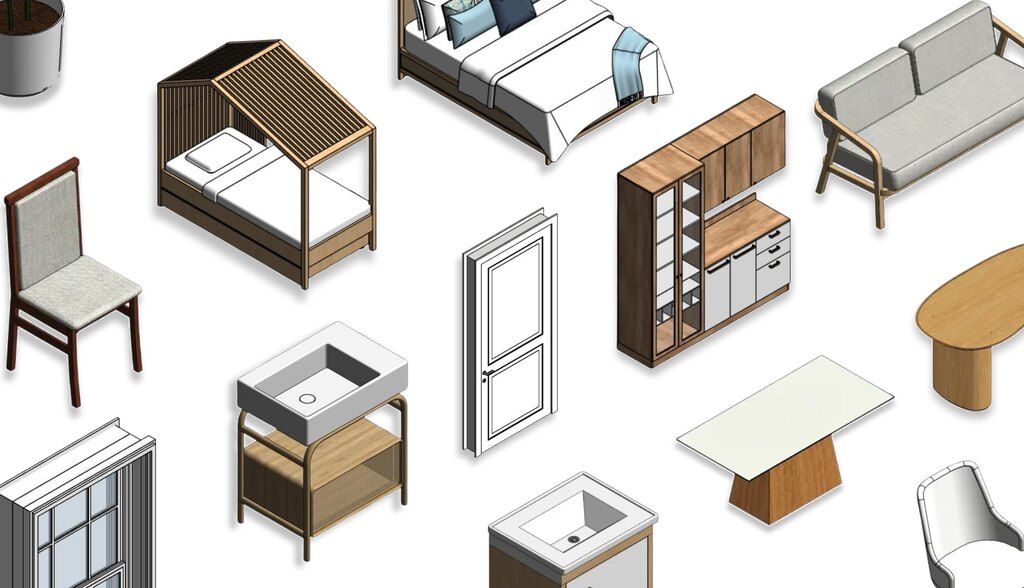
But it does not have to be that way. Blocks® has released 25 new modules in its Kitchen Modules collection, designed specifically to address this problem.
In these families, width, depth, height, panel thickness, number of shelves, base type, opening type, and the visibility of each component are all controlled by parameters.
In this article, we will take a closer look at how these families are built and show you which parameters are available, what each group controls, what can be edited, what is locked, and why this changes your workflow.
Ready? Let’s get started.
What is included in Blocks’ 25 new kitchen modules?
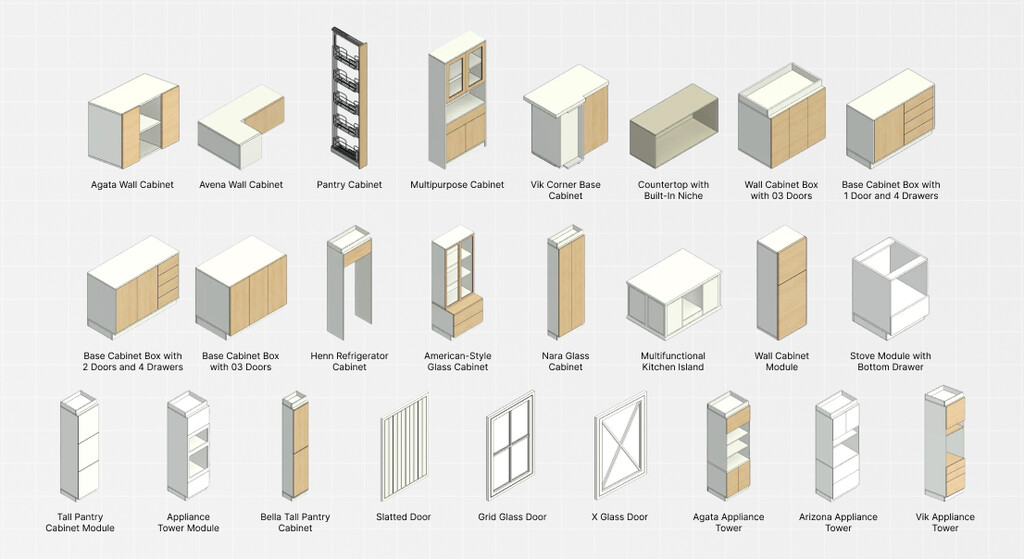
The release followed a simple rule: anything that the existing module library did not yet cover was included in this collection. That is why none of the 25 modules duplicates what was already available.
One item that deserves special attention is the kitchen island. One side includes an area designed for bar stools, while the other combines an open cubby, doors, and drawers within the same unit.
The design drew on a Tuscan-inspired kitchen reference provided by a partner firm seeking this particular design language.
The collection also adds the vertical units that often become a bottleneck during detailing. Tall oven cabinets, pantry cabinets, and glass-front display cabinets are now available as parametric modules, along with base cabinet boxes and niche in a variety of configurations.
There is also one addition that changes the way you assemble your cabinetry. In addition to complete cabinets, the release includes standalone doors designed for users who want to create their own custom units.
They let you turn off a module’s original door and replace it with another. . The visibility section later in this article explains exactly how to do this.
Combined with the modules already available, these 25 additions form a set that covers the entire kitchen.
The collection now includes straight, L-shaped, and U-shaped counters, corner and curved modules, oven and refrigerator cabinets, tall storage cabinets, spice and cutlery drawers, and standalone doors in styles such as slatted, X-pattern glass, grid-pattern glass, bi-fold, Cava, and Strato.
All families are available for Revit 2023 and later, including Revit 2027.
Instance parameters and type parameters: the decision that keeps the project organized
This is the concept that separates someone who works with a Revit family from someone who simply places a block in a project. The entire collection was built around it.
An instance parameter appears directly in the Properties palette and remains visible whenever you select the object.
It changes only that specific element. If you copy a module and change the visibility of the shelves in the copy, the original remains unchanged. They function as two independent cabinet units within the same project.
A type parameter is accessed through the Edit Type button and works differently. It is linked to every element that shares that type.
If you change the overall height there, every module of that type in the project changes at the same time, including any modules you place later through the plugin.
This applies both to copies created with Ctrl+C and Ctrl+V and to a new placement of the same family, because they all share the same family name and type.
It is important to emphasize that this is an advantage, not an unintended side effect. Standardizing the height of every wall cabinet in a kitchen with a single adjustment is faster and safer than correcting each unit individually.
When you need a different variation, go to Edit Type and select Duplicate. You will then have two independent types and can change one without affecting the other.
For example, the families already include two predefined types, one with a white finish and one with a wood finish. Because they are different types, changing the height of the wood-finish type does not affect the white one.
Always check which type is selected before making any changes, because this is where most of the confusion occurs.
Dimensions, panels, and real-world cabinetmaking logic
This is where you see the difference between a truly parametric family and one that only appears to be parametric.
When you reduce the width of the central cubby in a module, the adjacent drawers and doors expand to occupy the available space.
When you change the depth of the base cabinet, the entire cabinet becomes shallower. None of these adjustments requires opening the Family Editor.
The panel controls show that this collection was designed by people who understand cabinetmaking. Both the top-panel thickness and front-panel thickness are editable parameters, and there is a practical reason for this.
Cabinet shops work with different panel dimensions and thicknesses, and each shop has its own standards.
Instead of setting a fixed value and forcing the designer to work with it, Blocks leaves the choice to the professional responsible for fabrication.
The payoff comes later. Because each component has an assigned material and its actual thickness, you can generate quantity takeoffs directly from the model and coordinate with the cabinet shop using real quantities from the model.
Changing the base height from 2 3/8 to 5 7/8 inches (6 to 15 cm) is enough to alter the cabinet’s proportions, and you can do it without leaving the Properties palette.
Toe kicks, legs, and top fillers: the details no one wants to model
The toe kick is the enclosed base that runs along the floor. In some regions, it is fabricated by the cabinet shop. In others, it is built from concrete or cement. In the families from this collection, it is controlled by a parameter.
You can choose between a toe kick and legs. If you choose legs, you can select a square or round shape and determine which individual legs remain visible.
When a module sits against a wall or next to another cabinet, turning off a leg that would not be visible creates a more accurate representation.
The same principle applies at the top with the filler panel, which t closes the gap between a wall cabinet and the drywall ceiling or structural slab.
You can turn the top filler on or off through a parameter. When the project requires it, one module can have a filler while the adjacent module does not.
Visibility: assembling the module one component at a time
Doors, drawer fronts, top panels, horizontal dividers, vertical dividers, shelves, drawer slides, and bases all have independent visibility controls.
You can strip the module down to an empty cabinet box with no internal components and build it from there.
In many modules, the number of shelves is also controlled by a parameter. A cabinet that initially includes three shelves can accommodate six, provided its height allows it.
Some modules also let you choose between a flat shelf and a sloped shelf. When you select the sloped option, an additional setting appears for activating the front retaining lip, because a sloped shelf without a stop cannot hold anything in place.
Details like this distinguish a family modeled by someone who understands cabinetry from one created only to look good in a rendering.
This is also where the standalone doors become useful. The workflow is straightforward:
- Turn off the visibility of the door in the selected module.
- Place one of the standalone doors from the collection in the project.
- Adjust the door width and height through its type parameters so that it matches the opening.
- Use the Align tool, shortcut AL, select the back face of the door, and align it with the module.
The result is a customized cabinet without making any changes in the Family Editor. The same approach applies to the front panel, which can also be turned off so that you can place another one in its place.
Graphic representation in plan and elevation
Many families that look good in 3D turn into an uninformative rectangle in a humanized floor plan or elevation drawing. That is not the case here.
The first group of parameters in these families is Graphics, and it only affects plan and elevation views.
In plan, a dashed door-swing projection appears by default because this information is critical when evaluating circulation and potential conflicts between doors. If it interferes with a particular drawing, you can turn it off with one click.
You can also control the angle of this representation. The door can be shown at 45°, 90° or even 120°, reflecting the typical range of motion of kitchen cabinet hinges.
Elevation views have their own opening indicator, with the same on-and-off control. If it does not appear, check the view’s detail level before anything else, because Revit simplifies the representation at a low detail level.
The opening type also changes what Revit displays. In families with doors, the parameter provides four options:
- Swing: a traditional side-hinged door that creates a swing arc in plan.
- Lift-up: a door that opens upward.
- Sliding: a sliding door represented by an arrow.
- Drop-down: a door that pivots on its bottom edge and opens inward or outward.
The Sliding and Drop-down options do not appear in floor plan views because their standard representation is shown in elevation.
There is another detail that can easily go unnoticed and may be the most important point in this section.
The parameters are standardized across all the families. The control for the opening line in elevation is always located in the same place, regardless of which module from the collection you are using.
You will not have to look for the control in one place in one family and somewhere else in the next, or find it under Y Edit Type in one family but in the Properties palette in another.
Materials and finishes
The two types included with each family, the white version and the wood-finish version, provide a starting point.
When you switch types, all the cabinet finishes change at once, making it easy to quickly test the overall design language early in the project. .
From there, you have individual control over each component. The top, cabinet box, door, drawer, and drawer slide each have their own editable material parameter.
You can apply a material from your own library or one of the materials available on the Blocks website to any of these components.
Where can you download Blocks kitchen modules?
The difference between a library that saves time and one that simply fills your project with geometry lies in the level of control it gives back to you.
A module that supports the panel thickness used by your cabinet shop, displays the correct door swing in plan, lets you replace the door without opening the Family Editor, and provides reliable quantity takeoffs is a module that works in favor of the project rather than against the deadline.
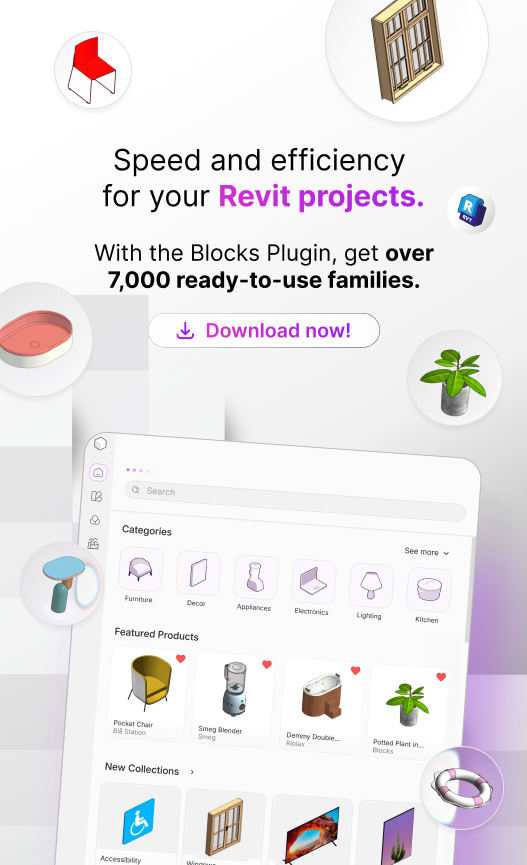
The 25 new modules are already available in the Kitchen Cabinet Modules collection and can be placed directly in your active view through the Blocks Plugin for Revit. There is no need to download files manually or manage a separate family library on your office network.

Conclusion
The kitchen is where design decisions begin to meet construction realities earlier than in most other spaces.
The cabinet shop will ask for the panel dimensions, the installer will ask about the toe-kick height, and the client will want to see the door open before approving the design.
A module that answers all three questions directly within the model takes the non-design work out of your workflow. .
Choose one wall in your next kitchen project and build it out using parameters only, without opening the Family Editor once.
It is the fastest way to experience the difference between a library that simply represents a project and one that actually helps you deliver it.
Enjoyed this article? Follow the Blocks blog for more content like this.