Image – revit-template
Have you come across the term Revit template before? Do you know what it’s for or how it works? If you’re involved in the BIM world, chances are you’ve already heard about it.
The Revit template (Revit model) is essentially the foundation of the entire BIM workflow — a standardized starting point that helps maintain consistency throughout the project lifecycle.
It streamlines collaboration among professionals by promoting a more efficient and accurate workflow in Revit.
In this article, Blocks explains everything you need to know about Revit templates—what they are, why they matter, and how to use them effectively.
Shall we start? Read on to learn more!
What is a Revit template?

The Revit template is a pre-defined structure model that aims to facilitate project development.
It contains several standard settings that simplify work and ensure practicality in projects.
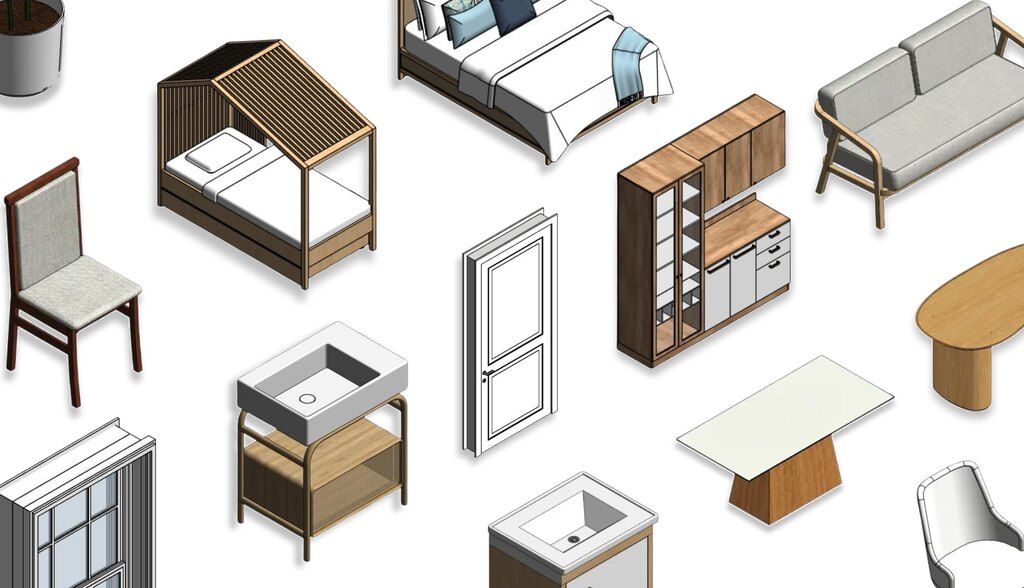
These templates contain predefined views, floor plans, symbols, indicators, tables, customized sheets, annotations, and families of objects and building components.
What is a Revit template used for?
Templates are essential for streamlining workflows by eliminating the need to set up each new project from scratch.
They allow you to start a new project with all key parameters — measurement units, view styles, graphics settings — already configured.
How to use a Revit template?
A Revit template is like a starting point for new projects, helping ensure consistency and efficiency.
To use a template in Revit, you must first create or select an existing template.
These templates can be customized as needed, including adding specific families of components you regularly use, such as doors, windows, and furniture.
The template setup process involves defining measurement units, creating standard views, configuring tables and sheets, and adjusting graphic styles.
For example, when starting a new project, you can choose a specific architectural model that already includes all the necessary settings for that type of construction.
This saves time, as you don’t need to set everything up from scratch every time you start a new project.
Why Is the Revit Template So Important?

But after all, why is the Revit template so important? A well-structured Revit template is crucial for several reasons. Here are some of the key benefits:
Standardization
A Revit template provides a standardized starting point for BIM projects, establishing consistent settings, families, and parameters.
This ensures all team members follow the same guidelines, simplifying collaboration and avoiding misalignment.
Efficiency
With a well-structured Revit template, you will have greater efficiency during project creation, as it minimizes repetitive tasks.
Common elements like doors, windows, walls, and other components can be pre-configured, saving time and reducing errors during the modeling process.
For example, a well-configured Revit template can, on average, result in a 20% to 40% increase in productivity.
For instance, a project that would typically take 100 hours might be completed in just 60 to 80 hours with a proper template.
In other words, this means that the project can be up to 1.35 to 1.67 times faster with the use of a Revit template.
Data management
It’s worth noting that BIM is not limited to 3D modeling; it also emphasizes project data integration.
A Revit template configures essential data parameters and properties for managing project information throughout its lifecycle.
Consistent data organization enables more effective analysis, scheduling, and cost estimation.
Quality control
Templates can embed company standards and best practices, helping ensure all deliverables meet internal requirements.
This reduces errors and increases the overall quality and accuracy of your work.
Flexibility and adaptability
While templates provide standardization, they are also highly customizable.
You can adapt a template to fit specific project needs without sacrificing the consistency of your workflow.
Training and Onboarding
For companies adopting BIM workflows, a well-designed template can be a valuable training resource.
New team members can quickly understand the organization’s BIM standards by working with the template.
Compliance and regulation
Some projects need to meet specific regulations, codes, or industry standards.
Thus, a Revit template can be configured to ensure compliance with requirements, helping teams meet legal and regulatory obligations.
How to import a Revit template?
To import a Revit template, some steps must be followed. Therefore, we have prepared a brief guide to help you. See below:
- Download the Template: First, download the desired template file. Generally, the file will be in “.rte” or “.rvt” format.
- Save the Template: Store it in an accessible location. It is recommended to save it in the default Revit templates folder, but you can choose another location.
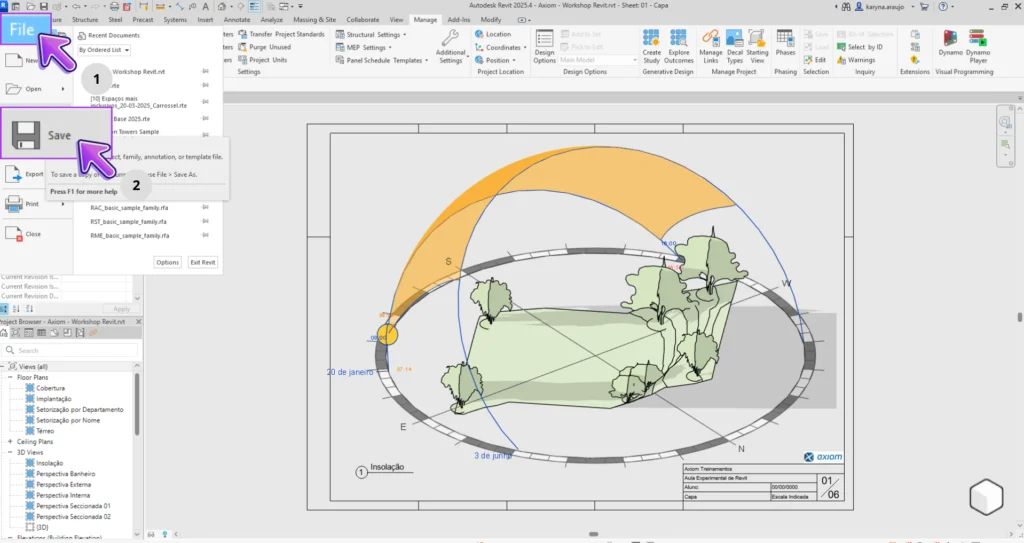
- Set Up in Revit: After that, open Revit and, in the application menu, click “Open.”
- Add the Template: In the file tab, locate the folder where you saved the template and click on the file.
- Finish: Finally, click “Open” and wait for your template to load.
The template will now be available in Revit’s start screen, under “New Project” or template options.
How to edit a Revit template?
Now that you know how to import a Revit template, ready to customize your template? Here’s a step-by-step guide:
1. Open the template
The first step to editing a Revit template is to open it in your app.

2. Select the file
From the main menu, click “Open,” then select the file you want to use.

3. Set parameters
With the template open, it’s time to start setting parameters. In the top menu, click “Manage” and then “Project Parameters.”

4. Edit the template
In this section, a small window will open with some project information. In the lower-left corner, click on a pencil icon to edit.

5. Review Parameters
In the tab that will open, you can edit all the parameters of your template as desired.

6. Adjust View Settings:
With the template parameters adjusted as desired, let’s move to “adjust view settings”.After completing your edits, in the left menu of Revit, click “Edit” in the “Visibility/Graphics” category.

7. Set up the view
With the view tab open, you can set specific views frequently used, like floor plans and sections.
This includes adjusting the scale, detail levels, and view styles for each type of view you want.

8. Styles, Text, and Dimension
Now, to edit styles, text, and dimensions, click “Additional Settings.”
9. Set Tags and Line Styles
Here, you can load annotation tags and create custom fill patterns and line styles that suit your team’s workflow. For example, you might use a brick hatch pattern instead of a 1.5 mm diagonal line.

10. Save the Edited Template
After making all the changes, save the file as a new template. This can be done by clicking “Save as” and selecting “Project Template” from the list of options.
By following these steps, you’ll create a tailored template that fits your specific project needs.
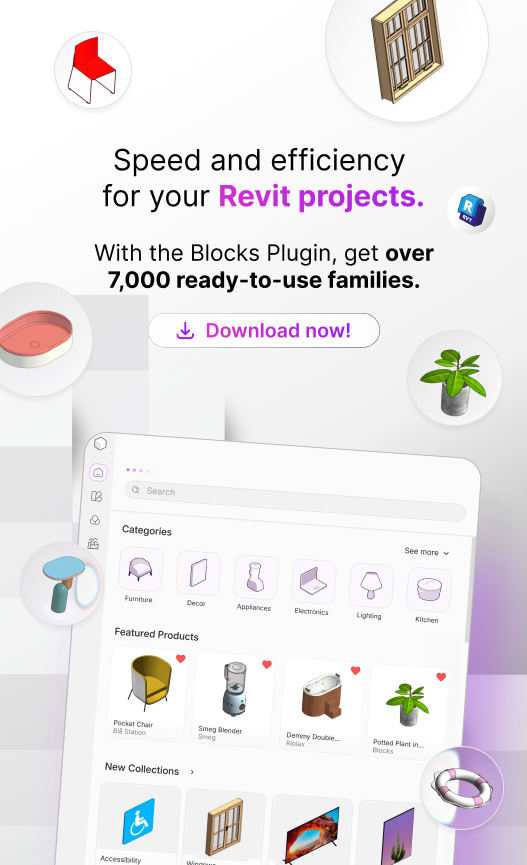
Plugin Blocks: access over 6,000 families!
Looking for more speed and efficiency in Revit? Then, learn more about Plugin Blocks.
If you’ve ever wasted hours searching for reliable parametric families online, the Blocks Plugin is your solution.
Blocks offers a crucial tool for professionals who work with Revit and value efficiency in their daily workflow, providing access to over 6,000 BIM families.
Now, instead of wasting time searching for low-quality families online, you can find exactly what you need in just a few clicks with the Plugin Blocks.
Conclusion
A well-structured and standardized Revit template is a key asset for any project team striving for efficiency, precision, and high-quality outcomes.
This consistency not only ensures that all team members follow the same guidelines, but also simplifies the onboarding of new collaborators.
With a solid template in place, you can minimize repetitive tasks, reduce errors, and ensure compliance with industry-specific standards and regulations.
Additionally, consistent data management within the BIM environment supports better analysis, scheduling, and cost estimation—leading to more effective project delivery.
That’s why investing time in creating and maintaining your Revit templates is essential throughout every stage of your project.
Enjoyed this content? For more insights and BIM resources, follow the Blocks blog!