If you are here because your contour lines are not showing in Revit, don’t worry: this issue has a solution, and it is usually simpler than it seems.
In practice, disappearing contour lines are almost always tied to view settings, topography visibility, the contour display range, or the way the terrain was created or imported.
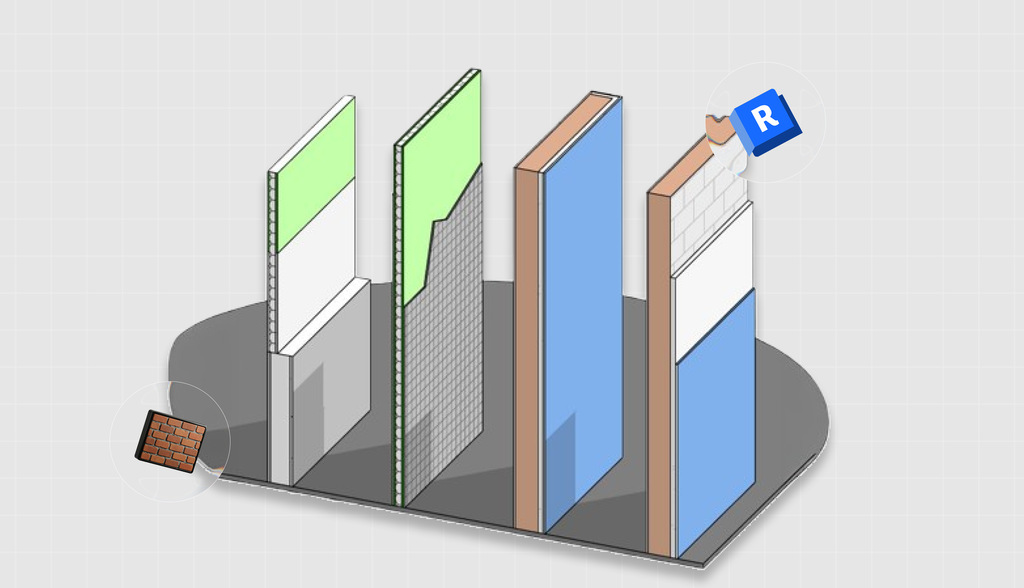
On top of that, in more recent versions of the software, site topography is represented by a toposolid, while older files may still contain a toposurface, which is now a legacy element.
In other words, some command names have changed, and that can be confusing if you are trying to fix the display.
In fact, when contour lines are not showing in Revit, the problem is not always with the terrain itself. It may simply be that toposolid visibility is turned off in floor plan views.
So there are several possible reasons why contour lines may not appear in your Revit model. In this article, we will show you how to solve this problem.
Why are contour lines not showing in Revit?
Before you start changing everything in the file, it helps to understand the logic behind the issue.
In current versions of Revit, terrain may have been created from elevation points, from a boundary sketched directly in the model, or from imported DWG, DXF, DGN, or CSV data.
In any of those cases, contour display depends on two sets of settings: the first is the view, with its visibility rules and view range; the second is the topographic element, with its contour definitions, interval, and start and stop elevation values.
That is why contour lines not showing in Revit can have different causes even in similar files. In older projects, you may find commands related to Toposurface Settings.
In newer projects, the fix usually involves the Type Properties of the toposolid and the Contour Display parameter. Knowing which scenario you are dealing with can save you a lot of trial and error.
Revit contour lines not showing: causes and solutions
Now let’s solve the main problem. There are several reasons this can happen, so check below to find the best fix for your situation.
1. Check whether the issue is in the view, not the terrain
Many users start editing the entire topography when the issue is actually limited to the view that is open at that moment.
Toposolids can be invisible in certain plan views, so it makes sense to begin the investigation in a site plan or a 3D view.
- Open a site plan or a 3D view to test whether the topography appears there.
- If the contour lines show up in that other view, the terrain is probably fine, and the issue is limited to the original view.
- Compare the problematic view with one that works, paying attention to properties such as Visibility/Graphics and the View Range.
- If a View Template is applied, review what it is controlling, because visibility overrides may be coming from the template rather than from settings edited directly in the view. Autodesk documents a visibility override hierarchy in Revit, which explains this behavior.
In many cases where contour lines are not showing in Revit, this first test already separates the problem into two scenarios: either the topography is missing from the project entirely, or it is simply not being displayed in the view you are working in.
1.2 Check topography visibility in the view
If the issue really is view-related, the next step is to review the visibility settings for the terrain category.
Autodesk recommends using the Visibility/Graphics dialog to make sure toposolids are displayed and also notes that the site plan view normally displays this element by default.
- In the problematic view, open Visibility/Graphics using the VG or VV shortcut.
- Look for the category related to terrain and confirm that it is checked for display. In newer files, the focus is usually on the toposolid; in older files, there may still be a toposurface.
- If the topography is linked, also review the visibility of the linked file and the category inside it, because Autodesk states that the displayed element follows the Visibility/Graphics settings of the current view.
- If there are terrain subdivisions, keep in mind that they may also depend on their own style and visibility settings.
When contour lines are not showing in Revit because of visibility settings, the fix is usually simple. The bigger challenge is realizing that the problem is graphical, not geometric.
3. Adjust contour line display settings
Once you confirm that the topography itself is visible, it is time to review the contour settings.
In the toposolid workflow, contour display is controlled as a type property; in the legacy toposurface workflow, there is a dedicated contour settings dialog.
- Select the terrain and open Type Properties.
- For a toposolid, click Edit next to Contour Display. Autodesk documents that this is where you define how contour lines are displayed.
- Review the Start, Stop, and Interval values, because these parameters determine which contour lines are drawn and how often they appear.
- If the file is older and uses a toposurface, look for Toposurface Settings to review the main and secondary contour intervals.
- If there is a subdivision on the topography, also check whether it is inheriting contour lines from the main element, because that can also affect what appears in the view.
This is one of the most common causes when contour lines are not showing in Revit: the terrain exists, but the type is configured to display a range or interval that simply does not match the terrain in the file.
4. Check the contour elevation range
Contour lines may not appear if the configured range does not cover the terrain’s actual elevation .
According to Autodesk, in some scenarios the default Stop value may be set to 1000 feet.
- If the highest point of the toposolid, relative to the project’s internal origin, is above that value, the contour lines will not appear until the range is expanded.
- Select the terrain and review the highest elevation it actually reaches.
- Open the contour settings and increase the Stop value so it includes the highest altitude in the model.
- If needed, also adjust the Start value, especially in terrains with negative elevations or files with shifted origin references.
- Pay close attention to this if the file came from another software, another office, or a template with poorly resolved coordinates. Autodesk support links this issue with the elevation of the highest point relative to the internal origin.
In many cases, the contour lines have not disappeared at all; they are simply outside the currently configured display range.
5. Review the plan view range
Even when the terrain is correct and contour lines are enabled, the view itself may still keep them from appearing.
Autodesk defines View Range as the set of horizontal planes that controls the visibility of objects in a plan view: Top, Cut Plane, Bottom, and View Depth.
Elements outside that range do not appear unless another complementary setting is involved, such as an underlay.
- Open the problematic plan view
- In the Properties panel, find View Range and click Edit. Autodesk also notes that the VR shortcut may open this dialog.
- Focus especially on the Bottom and View Depth fields, because the documentation explains that the view depth can display elements below the main bottom plane.
- If the terrain is located well below the plan, increase the view depth until it includes the topography.
- If only part of the terrain has a very steep elevation change, consider using a plan region in addition to adjusting the overall view.
In many cases where contour lines are not showing in Revit, the terrain is there — the plan just is not “looking” deep enough to display it.
6. If the topography came from a DWG, review the imported file
When the terrain comes from a CAD file, the review needs to go beyond Revit.
Official documentation states that a toposolid can be generated automatically from imported 3D contour data in DWG, DXF, DGN, or CSV format.
If the imported file does not contain consistent elevation data, the result may not behave as expected.
The need for 3D data can be inferred directly from Autodesk’s own documentation.
- Check whether the DWG was created with true 3D contour lines, not just 2D lines drawn in plan. This matters because Autodesk states that creating a toposolid from imported data depends on 3D contour information.
- Review the layers used during import or linking. Autodesk explains that you can import all layers, only visible layers, or selected layers; layers that are not selected are excluded, and in linked files they remain absent even after reload unless the link is recreated.
- If the file was simplified after the topography was created, validate the contour geometry again. Autodesk warns that simplifying topography improves performance, but it may affect the precision and geometry of contour lines.
- If necessary, recreate the topography from the corrected CAD file instead of trying to keep adjusting an imported base with bad source data.
When contour lines are not showing in Revit for terrain created from a DWG, the issue often starts earlier, in the source file, not just inside the BIM model.
Blocks Plugin: 8,000+ families for your Revit projects
Fixing topography matters, but productivity in Revit goes far beyond correcting a single view.
In real project workflows, what truly makes a difference is saving time on repetitive tasks, reducing rework, and having a reliable library always within reach.
That is exactly where Blocks comes in. With more than 8,000 Revit families, the plugin helps you develop projects faster, with greater consistency and far less time wasted searching for components across multiple sources.

Conclusion
When contour lines are not showing in Revit, the solution is almost never to redo everything from scratch.
Most of the time, the right approach is to review the view, confirm topography visibility, adjust contour display settings, expand the elevation range, and verify that the base file was imported correctly.
It is also worth remembering that Revit has changed its topography workflow in recent years. Because of that, if your project mixes older and newer files, the differences between toposurface and toposolid may explain why the commands seem to be “in the wrong place.”
And since the goal is to work better in Revit as a whole, keep following the Blocks blog.
There is always new content to help you solve practical issues, improve productivity, and get more out of the software in your day-to-day work.