Who said Revit for Mac doesn’t exist? It might take a few extra steps compared to Windows, but yes, you can absolutely get it running.
It’s true,there’s no native Revit version for macOS, as the software was designed exclusively for Windows. That does leave many users out.
But in today’s tech world, there’s always a workaround. ! One of them? Running Revit through virtualization on macOS.
Because the setup is a bit technical, many users end up throwing in the towel and switching to other programs.
But don’t worry: installing Revit for Mac is easier than you might think.
Stick with us and follow this complete step-by-step guide to install Revit on macOS. Ready? Let’s get started!
Is Revit Available for macOS?
Revit doesn’t have a native macOS version due to technical and strategic decisions made by its developer, Autodesk.
Revit is a powerful and complex BIM (Building Information Modeling) platform, developed exclusively for Windows operating systems.
According to Autodesk, creating a version for macOS would require a major investment in development and maintenance, potentially slowing down improvements to the current Windows version.
On top of that, Mac users make up a much smaller share of the architecture and engineering market, making the investment less appealing for Autodesk.

Rick Rundell
Diretor Sênior na Autodesk Research
“We don’t have plans to port our product to Mac, even though we know that many architecture firms are passionate about using Macs. It’s really a matter of focus and resources, not because we think Macs are unimportant.”
How to Install Revit on a MacBook
While there’s no native version of Revit for Mac, Autodesk themselves offer a few alternative ways to run it.
“[…] We offer an alternative way to run Revit on a Mac: virtualization (VMware or Parallels options) or remote desktop technology.”, Autodesk Revit Product Team
So yes, running Revit on macOS is totally legit.. No need to worry—you’re in the clear.
Let ‘s install it!
Installing Parallels
We’ll break down the Revit for Mac setup into two clear steps: ‘Installing Parallels’ and ‘Installing Revit’.
1. Go to the Parallels Website
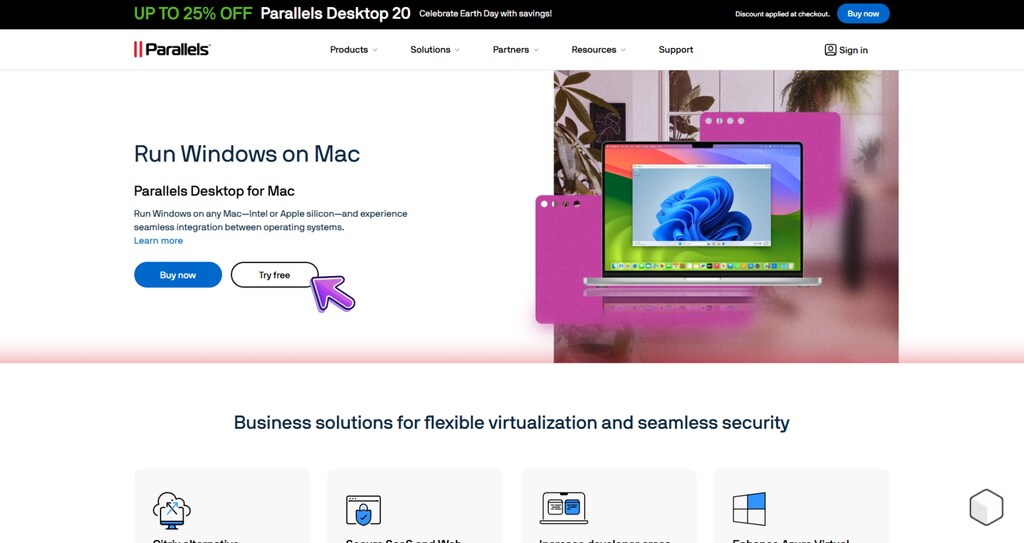
To install Revit on a MacBook, you’ll need to use Windows virtualization software—most commonly Parallels.
While other virtualization tools are available, Parallels consistently offers the best performance. Just a heads-up: it’s not free.
The good news? You can take it for a test drive before deciding to buy.
To get started with the free trial, simply create an account on the official website.
2. Register for the Free Trial
This step couldn’t be easier. Just click on “Free Trial” and, once prompted, enter your email address in the provided field.
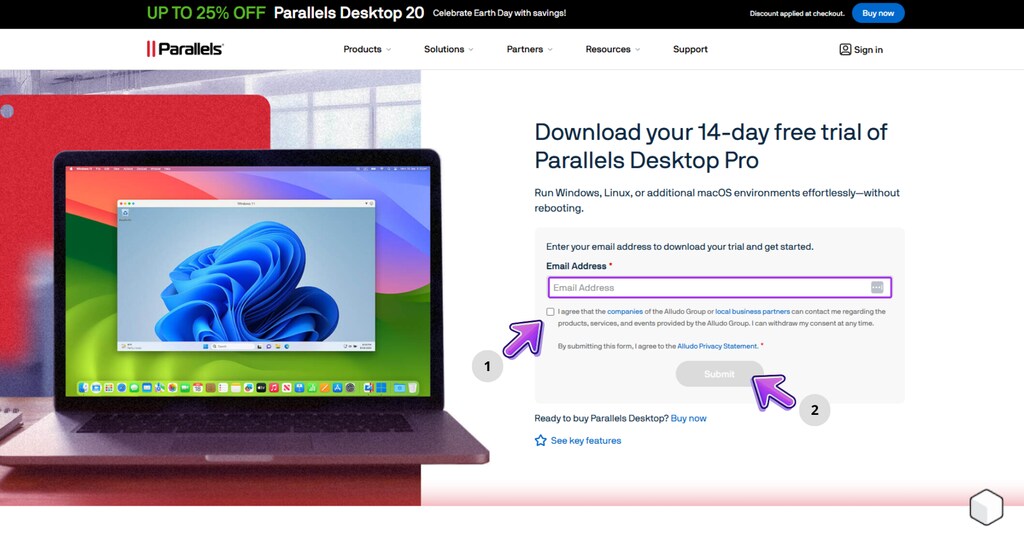
3. Install Parallels
Once you submit your email, you’ll be taken straight to the download page.
Click the main button “Download Parallels Desktop” and wait for the download to complete. Then, open the file and start the installation process.
4. Install Windows
Installing Windows through Parallels is straightforward. Just click “Install Windows” and let the software take care of the rest.
Installing Revit
Now for the second part of the process—installing Revit on your Mac. Once Parallels is up and running, you’re ready to go.
1. Go to the Autodesk Website
With Parallels open, launch your default browser—typically Microsoft Edge—and navigate to the official Autodesk® website.
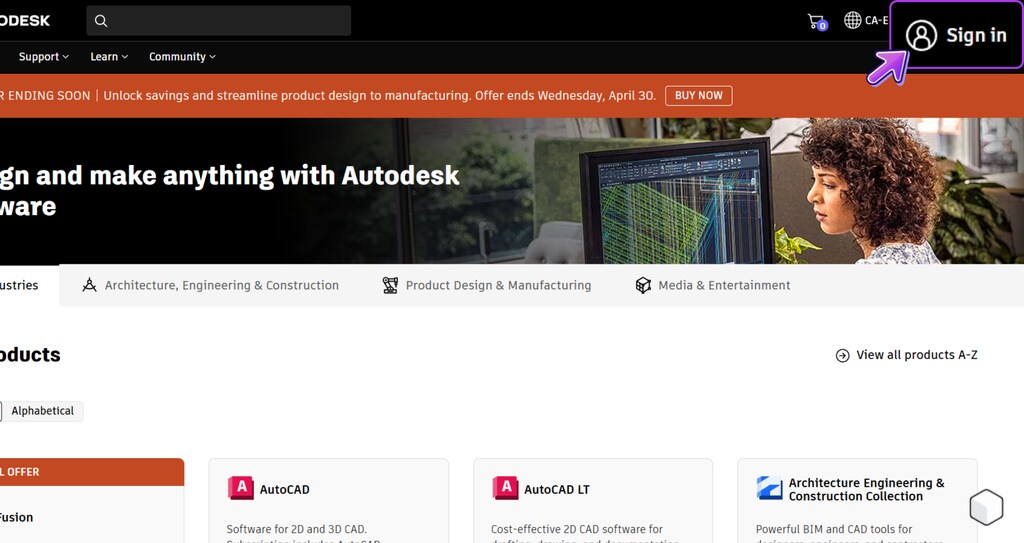
2. Sign In or Create an Account
In the top right corner, click “Sign In” and log into your Autodesk account—or create a new one if needed.
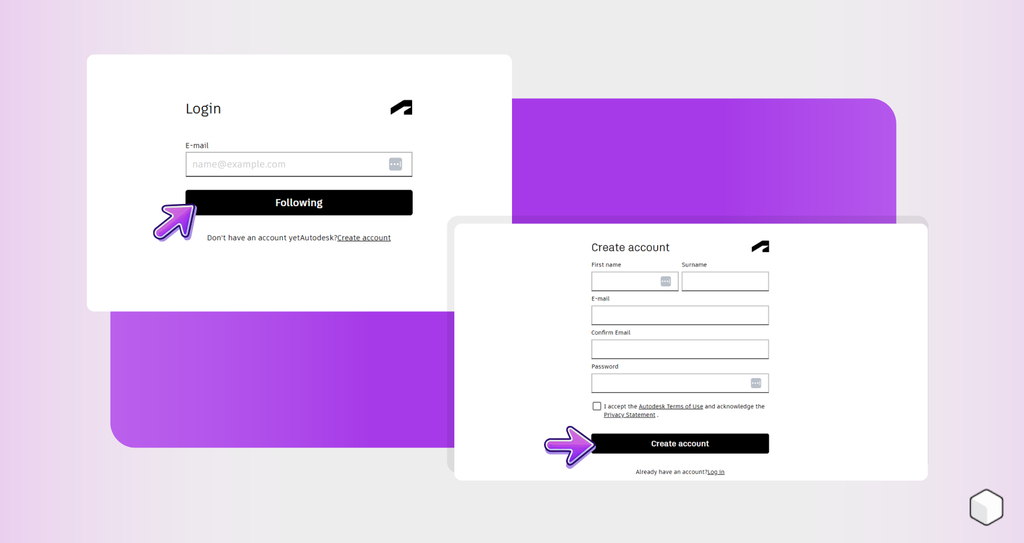
3. Download and Install Revit
Once you’re logged in, you’ll land on Autodesk’s main product page.
Look for “Revit” and click “Install” if you already have a subscription. If not, you can start a short-term free trial.

If you’re a student and want to use Revit for academic purposes, you can also download the student version for free. And right here on the Blocks blog, we walk you through the full process step by step.
And just like that— you’re ready to start designing with Revit on your macOS!
System Requirements to Run Revit for Mac

First , make sure your macOS is compatible with the version of Parallels you’re using. In general, you’ll need macOS 10.13 High Sierra or newer.
For Apple Silicon Macs, macOS 11 Big Sur or newer is necessary.
Be sure to use the latest version of Parallels Desktop compatible with your Mac. Versions 17 and up officially support Apple M1/M2 chips and Windows 11 ARM.
For Intel Macs, Parallels Desktop 15 and later supports DirectX 11, which is required for Revit to run properly in the virtual machine (VM). Keep Parallels updated to ensure stability and performance.
The operating system inside the VM must be: Windows 10 or 11 Pro 64-bit for Intel Macs, or Windows 11 ARM64 for Apple Silicon Macs. That’s the only version compatible with Apple’s latest M1, M2, and M3 chips.
Allocate at least 8 GB of dedicated RAM to the VM, but ideally 12 to 16 GB for heavier projects. Also, assign at least 4 CPU cores, depending on your Mac’s capabilities.
As for storage, make sure you have at least 40 GB of free space, ideally on an SSD. This ensures room for Windows, Revit, and your project files.
Be sure to enable DirectX 11 support in Parallels, this allows Revit to use 3D hardware acceleration for smoother performance.
If you run into graphic issues, try temporarily disabling hardware acceleration in Revit for greater stability.

Bárbara Pavanello
CEO | Blocks®
“It’s absolutely possible to run Revit on a Mac using Parallels, especially if you configure the virtual machine properly. My recommendation is to allocate at least 12 GB of RAM, enable DirectX 11, and keep everything up to date. That said, due to personal preference and the fact that I work with heavier projects, I usually run Revit directly on Windows, where the performance tends to be smoother and more reliable on a daily basis.”
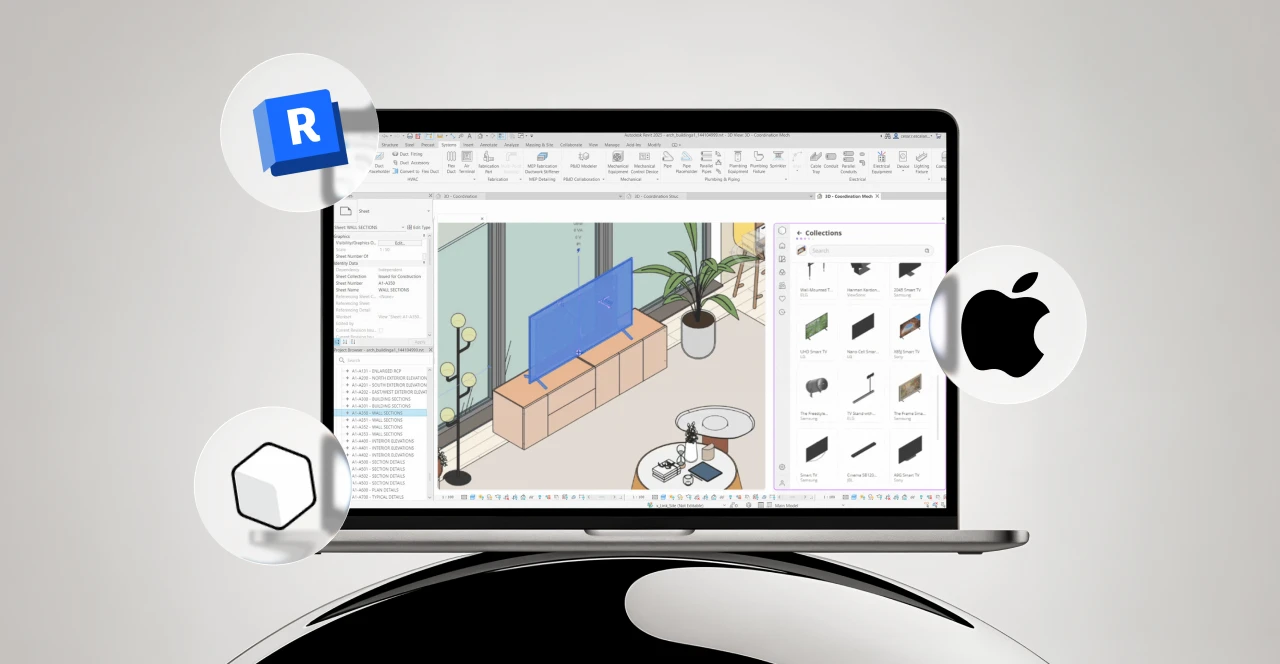
How to Install the Blocks Plugin on Revit for Mac
Want to install the Blocks Plugin on your Mac? Here’s how—it’s quick and easy.
While running Windows through Parallels, open your browser and head to our official website.
Once the page loads, click “Register” and create your free account. After that, click “Download Plugin.”
In the download section, click “Free Download” and install the plugin. Once installed, it’ll appear automatically in Revit.
Need a more detailed walkthrough for plugin installation? Check out this article: Blocks Plugin: Access Over 5,000 Revit Families in Just a Few Clicks.
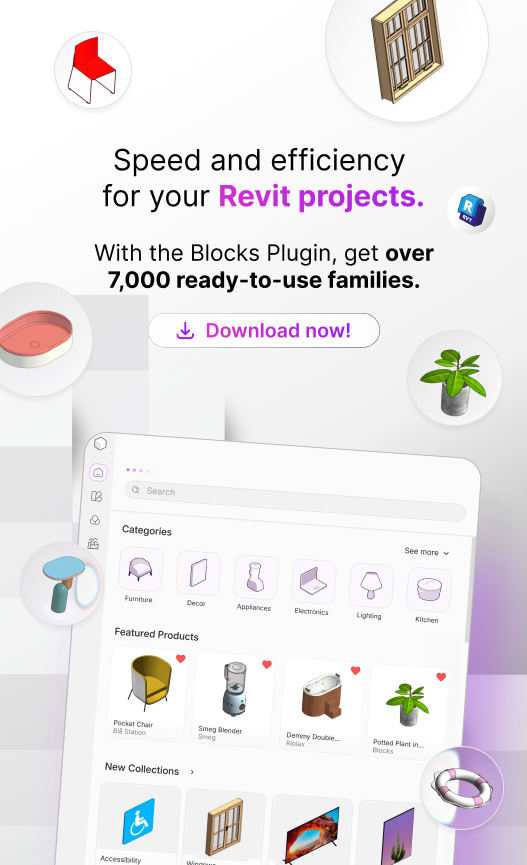
Blocks Plugin: Over 5,000 Revit Families on Your Mac!
If you’re a BIM professional using a Mac and want to make the most of Revit—Blocks has you covered.
Our plugin gives you access to over 5,000 parametric families, ranging from furniture to décor.
Our BIM library features top brands like Samsung, Apple, Portobello, Tok&Stok, Electrolux, Brastemp, and more—so you can deliver standout projects for your clients.
And here’s the best part: you can access part of our collection completely free. Just download and start designing.
Want full access? Our Premium Plan unlocks the entire collection, with affordable pricing that fits right into your budget.
Conclusion
While Revit isn’t natively supported on macOS, running it through Parallels makes it entirely possible, bringing Windows to your Mac seamlessly.
With the right setup, including the appropriate version of Parallels, the compatible Windows edition, and the ideal allocation of resources (RAM, CPU, and storage)—Revit runs smoothly on both Intel and Apple Silicon Macs.
This is the perfect solution for AEC professionals who prefer Apple’s ecosystem but depend on Revit to bring their projects to life.
Just follow these setup tips and best practices to enjoy a smooth, productive workflow—without giving up the flexibility macOS offers in your daily workflow.
Enjoyed this content? For more like this, visit the Blocks Blog!